
First Microcontroller Project
You’d think that with a background in programming that when I started tinkering with electronics I’d have gone to a microcontroller straight away. But for whatever reason (good design sense maybe?), everytime I planned a project a microcontroller just seemed like overkill. Getting an Arduino is as easy as it comes though so there shouldn’t have been an excuse not to tinker with them a littel bit, but the Arduino runs afoul of two of my less rational emotional responses. First, I don’t like paying for something I can get cheaper another way and while $25 is reasonably cheap, when you can get the parts for less than $10 my gut gives it a no vote. Second, if there can be a fad in a geek community, the Arduino is it. Finally however, a project came across Hack-a-day that I couldn’t pass up.
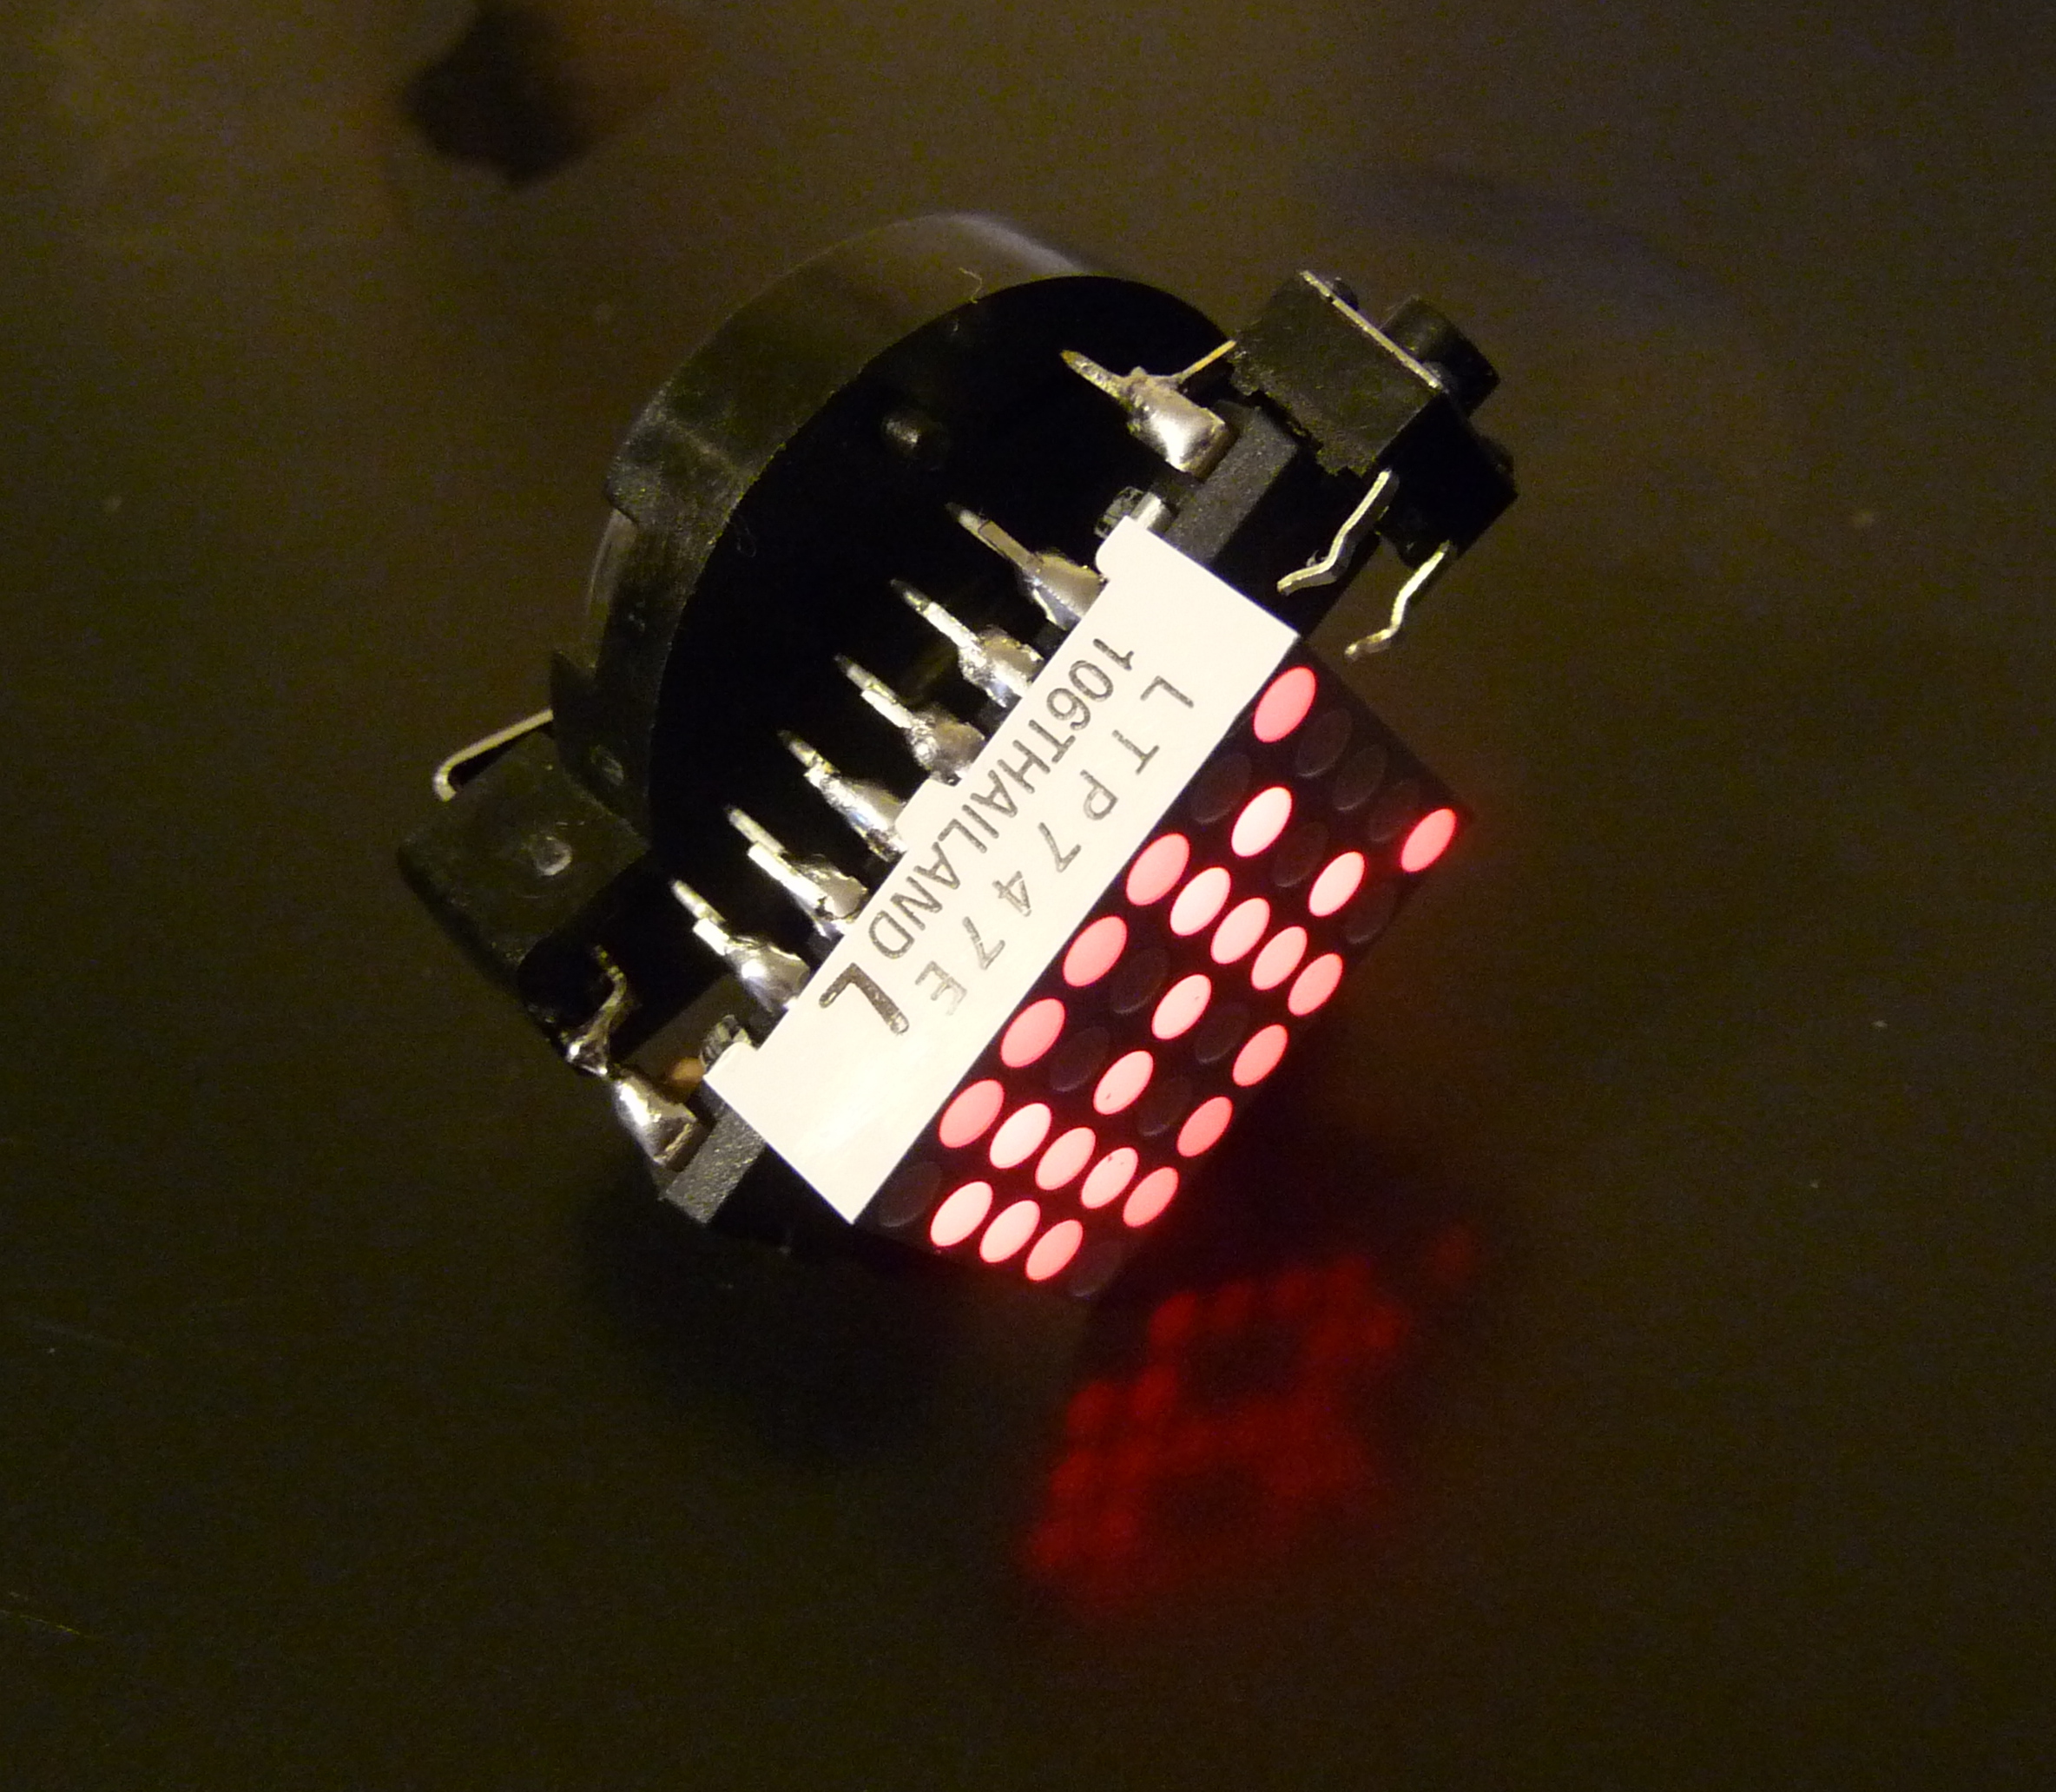
The project was the TinyMatrix LED necklace. It was cheap. It was not an Arduino (not exactly anyway). And it was a project to do with the kids which put it over the top. Simply put you solder a 3x5 LED matrix directly to the back of an ATTiny4313 microcontroller, add a button, a resistor, and a battery and you have a pendant that will cycle through about 20 patterns (some of them animated) to amaze and amuse your friends.
Parts
I ordered the exact LED matrix and microcontroller that were listed on the site and from those shops. It amazes me that two popular sites like Digikey and Jameco can charge such different prices for the same object that it is actually cheaper to pay shipping twice than order from one shop. That was the way it was so I went ahead and did it. When Jameco’s minimum order kicked in I finally bit the bullet and bought one of their $10 Ardweeny kits too. So now I can say I have one.
Programming
Another one of the problems with microcontroller projects is programming the chips. Once you’re really working with them then it’s silly not to have a dedicated programmer. But when you’re first starting you don’t really want to add the cost of the programmer to the cost of your first teensy little project. I now know how to use an Arduino as a programmer but didn’t have that working at the time. Instead, I went to my USB-Serial converter, an FTDI Friend from adafruit, which I had on hand from my work with Roombas.
All of the programming tutorials will warn you that this method is very slow. But when you’re first starting, slow is just fine. This tutorial, also from adafruit, was perfect for me. By soldering an extra wire to the exposed pad on the back you can connect five wires to the target chip and then use AVR dude (under Linux) to send the hex file across.
So for anyone else who may be in my situation, here are my notes: Pin Mapping for Programming
| FTDI Name | Common Name | Arduino PIN | ATNY4313 Pin |
|---|---|---|---|
| GND | GND | 8 | 10 |
| VCC | VCC | 7(20) | 20 |
| TX | SCK | 13 | 19 |
| RTS | MOSI | 12 | 17 |
| CTS | MISO | 11 | 18 |
| DTR | RST | 1 | 1 |
command to write the file:
avrdude -p t4313 -c ftdifriend -P /dev/ttyUSB0 -Uflash:w:TinyCoinMatrix.hex:i
Assembly
The assembly is extremely straight forward. The only thing I have to add is to pay attention to the orientation of the LED matrix. For me the side of the matrix with the writing and an extra little plastic tab needed to be on the 11-20 side of the chip. So if I was holding the chip with the reference dot on top (pins 1 and 20), the writing would be on the right side.
The other modification I made to the original design was to put the battery on the underside of the chip. My coin cell holders were the perfect size to stretch from pins 10 to 20 if I bent the legs out. This makes it thicker, but allows for a more kid friendly necklace chain than the wire needed to connect to the battery elsewhere.
Kid Friendly
At this point my 8 and 10 year olds are pretty handy with the soldering iron. I’m right there next to them but they’re holding both the iron and the solder. I’ll even trust them to solder parts while I’m holding them together. For my 5 year old, I hold the iron and let him touch the solder to the joint. My hand will be on his hand to make sure he stays focussed but he knows what to do.
Since this project involved code as well, I made a point of showing my 10 year old the code and explaining how the pictures were encoded, which was really a discussion of converting from hex to binary (through decimal for humans).
In the end, it’s another project that shows them they can make cool things from scratch which is really the point.